
1. nginx 설치
sudo apt update && apt upgrade -y
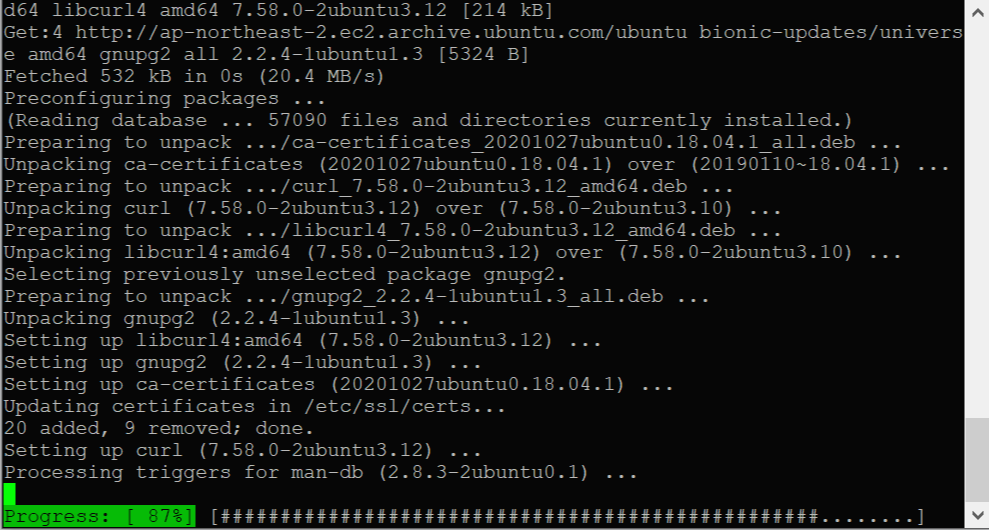
sudo apt install curl gnupg2 ca-certificates lsb-release
sudo apt install nginx

sudo service nginx start

service nginx status (확인 후 Ctrl + C 나가기)

nginx -v

sudo netstat -lntp (80번 포트 listening 중인지 확인)

sudo systemctl enable nginx.service (재부팅 시 자동 시작을 위한 서비스 등록 명령)
이제 서버 작동을 확인하려면 도메인창에 퍼블릭 ip 를 입력하시면 됩니다.
프라이빗 ip는 내부에서 같은 vpc를 쓰는 instance끼리만 연결 가능한 ip 주소입니다.
인터넷과 연결하려면 퍼블릭 ip를 주소창에 입력해야 하고,
인바운드 규칙에서 포트 80번 개방 확인 후 nginx 페이지가 뜨면 성공입니다.

2. php - fpm 설치
sudo apt update && upgrade -y

sudo apt install php-fpm

sudo apt install php-common php-mysql php-cli
▼혹시 설치 마지막 부분에 apache2와 관련된 알림이 뜨더라도 에러가 아니니 당황하지 않아도 됩니다.
(현재 php-fpm 연결할 때 apache 서버가 디폴트로 설정된 부분이 있어서 그런 게 아닐까 추정)

php --version
php 설치 버전을 확인합니다.

ls -l /var/run/php/
아래와 같이 출력되면 설치 성공입니다.
혹시 total 0 php-fpm.sock -> /etc/alternatives/php-fpm.sock 만 나온다면 php 삭제 후 재설치해주세요.

sudo nano /etc/nginx/sites-available/default
Ctrl + w 키 누른 후, index.html 검색
#index index.html index.htm index.nginx-debian.html;이런 주석이 보이면 앞에 # 제거 후, index.html 앞에 index.php 를 아래와 같이 추가해줍니다.
index index.php index.html index.htm index.nginx-debian.html;
바로 밑에 server_name -; 보이면 본인 서버의 퍼블릭 ip 주소나 도메인명을 입력하면 됩니다.
server_name <www.example.com 또는 ip 주소>;
<location 블럭 수정>
#location ~ \.php$ {
        #       include snippets/fastcgi-php.conf;
        #
        #       # With php-fpm (or other unix sockets):
        #       fastcgi_pass unix:/var/run/php/php7.2-fpm.sock;
        #       # With php-cgi (or other tcp sockets):
        #       fastcgi_pass 127.0.0.1:9000;
        #}
location ~ \.php$ {
include snippets/fastcgi-php.conf;
#
# # With php-fpm (or other unix sockets):
fastcgi_pass unix:/var/run/php/php7.4-fpm.sock;
# # With php-cgi (or other tcp sockets):
# fastcgi_pass 127.0.0.1:9000;
}location 앞에 # 제거
두번째줄 # 제거
5번째줄 # 제거
5번째줄 본인 php 버전에 맞게 버전 수정
마지막 괄호 앞에 # 제거
sudo nginx -t
아래와 같은 문장이 출력되면 환경설정 파일이 오류 없이 제대로 적용된 경우입니다.
nginx: the configuration file /etc/nginx/nginx.conf syntax is ok
nginx: configuration file /etc/nginx/nginx.conf test is successful
sudo service nginx reload
sudo nano /var/www/html/info.php
<?php
phpinfo();입력 후 Ctrl + x 누르고 Y 입력, enter 입력
브라우저에 본인 퍼블릭 ip 주소(혹은 도메인명)/info.php 입력 후 아래와 같이 창이 뜨면 php 설치 성공입니다.

sudo rm /var/www/html/info.php
보안 위험이 있으니 제대로 돌아가는 거 확인 후에는 php 파일 지워주세요.
3. mysql 설치
sudo apt update && sudo apt install mysql-server

sudo service mysql status ( active 상태인지 확인, q 키 누르면 나옴)

sudo mysql_secure_installation(security 환경 설정하기)
Press y|Y for Yes, any other key for No:처음에 뜨는 건 Enter 치고 넘어가기
root password 설정
그 뒤에 나오는 질문은 전부 y 입력하고 패스해도 됩니다
Remove anonymous users? (Press y|Y for Yes, any other key for No) : YDisallow root login remotely? (Press y|Y for Yes, any other key for No) : YRemove test database and access to it? (Press y|Y for Yes, any other key for No) : YReload privilege tables now? (Press y|Y for Yes, any other key for No) : Y설정 완료
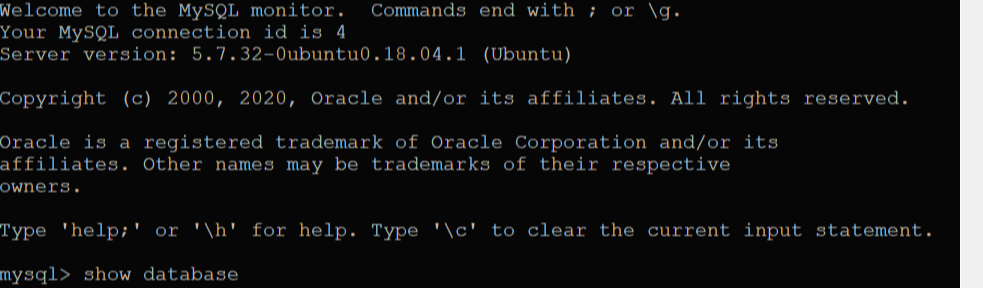
sudo mysql
mysql> 뜨면 성공! (나가려면 exit 입력)
reference
devanswers.co/install-php-nginx-ubuntu-20-04/
How To Install PHP for Nginx on Ubuntu 20.04 | DevAnswers.co
How-to guide for installing and configuring PHP-FPM for Nginx on Ubuntu 20.04 (Focal Fossa).
devanswers.co
Ubuntu 20.04 LTS 에 워드프레스 설치하기 1부 — Nginx 설치 및 최적화
기본 패키지 업데이트 및 최신화
medium.com
'Back-End > 서버' 카테고리의 다른 글
| [NodeJS] npm Error: Cannot find module 'semver' (0) | 2023.01.13 |
|---|---|
| node.js 에서 nginx를 reverse proxy server로 활용하기 (0) | 2021.03.02 |
| [ubuntu] 패키지 설치한 프로그램(PHP, 아파치) 깔끔히 삭제 (0) | 2021.01.06 |


